You might think that making homemade ACV is difficult. IT IS NOT! does it take some time, yes, it takes some time, however its mostly hands off!
So, let’s get started! The first thing you will want to do is decide how much ACV you want to make. I would suggest no less than using a 1 gal glass jar. this will yeild, approx 1/2 gal of finished ACV. If your like me and want to make a lot at once, I use a Crock like this one:

If you do not have a crock, a 1 gal glass jar will work just fine!
Next you will want to gather the rest of the things you will need to start your ACV This is the most work you will have to do for the next 6 to 8 weeks! once its going… you have nothing to do but leave it alone!
Gather your apples: These should be a variety of different types, I use some gala, fuji, red delicious and throw in a granny smith. The great thing about ACV is you can make it using the whole apple, or just the cores, and peelings. So the next time you want to make applesauce, do not throw away the “scraps” make some ACV! For this post, we will use the whole apple.
What you need
- 8-12 apples varied types (organic are the best)
- Starter culture: 2 tablespoons raw ACV with “mother” or scoby (if you use your own mother, add 1/3 cup. Homemade ACV tends to be less concentrated)
- 2 tablespoons raw honey or sugar *NOTE* I prefer to use sugar as honey takes forever to turn to alcohol.
- Water (non-chlorinated, as chlorine may halt the fermentation process)
- 1 Gal wide mouth glass jar
- Cheesecloth (or dish towel, coffee filter, paper towel)
- Rubber band
Organic apples are best, no wax on the peels, no pesticides. However, if you cannot get organic apples, please wash your apples really well! You can even get the wax off, here is a simple way to do that.
Here is a simple and inexpensive way to remove apple wax with ingredients from your kitchen. What you need: 1 veggie brush Apples Baking soda Lemon juice Directions: Fill your sink with 5 inches of lukewarm water Add 1 tbsp. of lemon juice & 1 tbsp. of baking soda Place your apples in the water Brush the outside of the apples with a veggie brush Then, watch and you will see the wax disappear and the water become cloudy
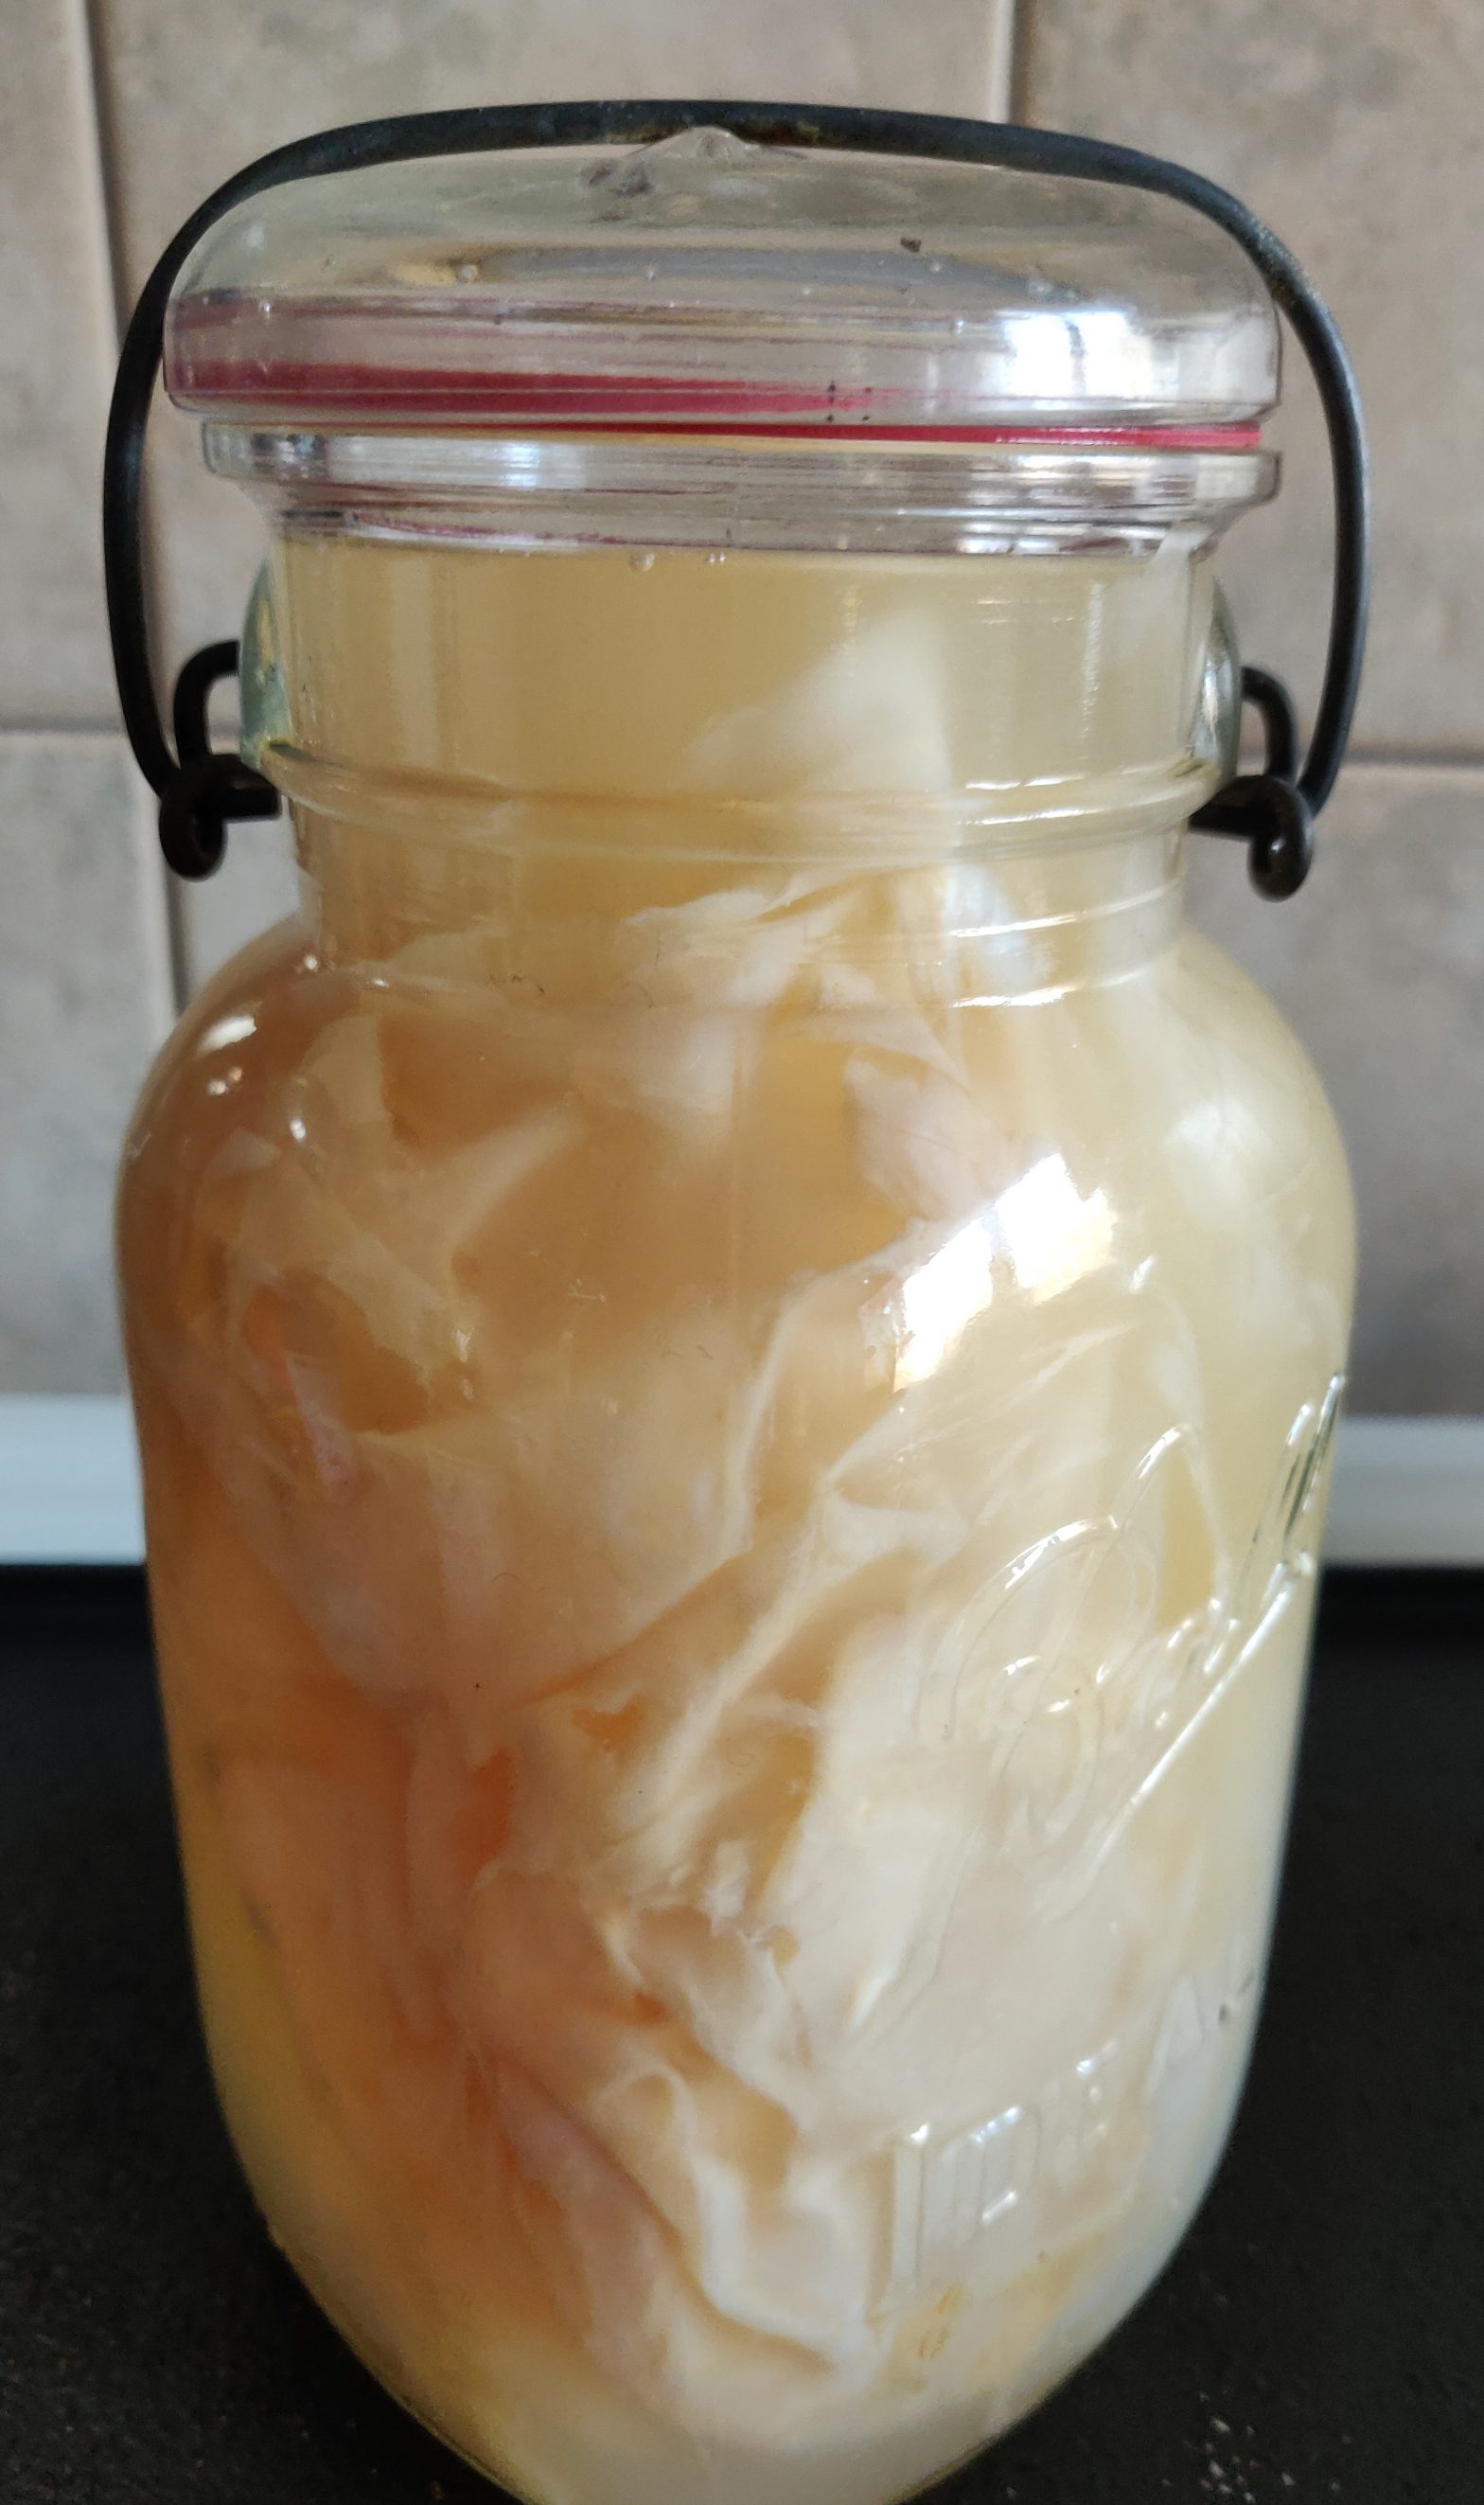
Clean your apples by soaking in cold water with some ACV. This will remove any bacteria on the apples. Once the apples are clean you need to make a decision. You can use the whole apple, OR you can use just the scraps and cores, using the apple itself for a pie, or even applesauce! If you choose to use the whole apple, start cutting them up into approx 1″ chucks, yes you can put seeds, cores and all into your container! Throw all the apples into your crock/jar and cover with water. Now you need either some “mother” or some starter for your ACV. I know, your probably wondering MOTHER??? This is formed when making your ACV, it kinda looks like a jellyfish. here is a picture of “mother” from my last batch.

When you do not have “mother” you will need to use starter,(sugar) use 2Tbsp per cup of water. Once you make your first batch, you can continue to use the “mother” for all other batches!!
Now that your apples are in the Jar/crock, and covered with water, you have added your “mother” or your starter, make sure your apples are fully covered with water! If using a crock, they come with weights, once my apples are in, I cover them with Cheesecloth, then put the weights on top of the cheesecloth and put the lid on the crock or cheesecloth on the jar with a rubber band. This keeps pests out!. ACV can be made in an “aerobic” environment, that means, you do not need to fill your trough in your crock, like when making sauerkraut. With ACV the air helps to ferment the apples, sugar, and water into a mild alcohol or cider. The harmless bacteria then turn the cider into vinegar in the presence of oxygen.
Next, Place the mixture in a warm and dark place for 2-3 weeks. The top of your fridge is a good example of a warm and dark place. Room temperature also works, but will take longer. Bubbles and scum may form on top of the water as the bacteria are turning sugars and alcohols into vinegar. Some people stir the mixture daily, I do not. Mold can form on top, but that’s okay. Nothing to worry about. Just spoon it off.
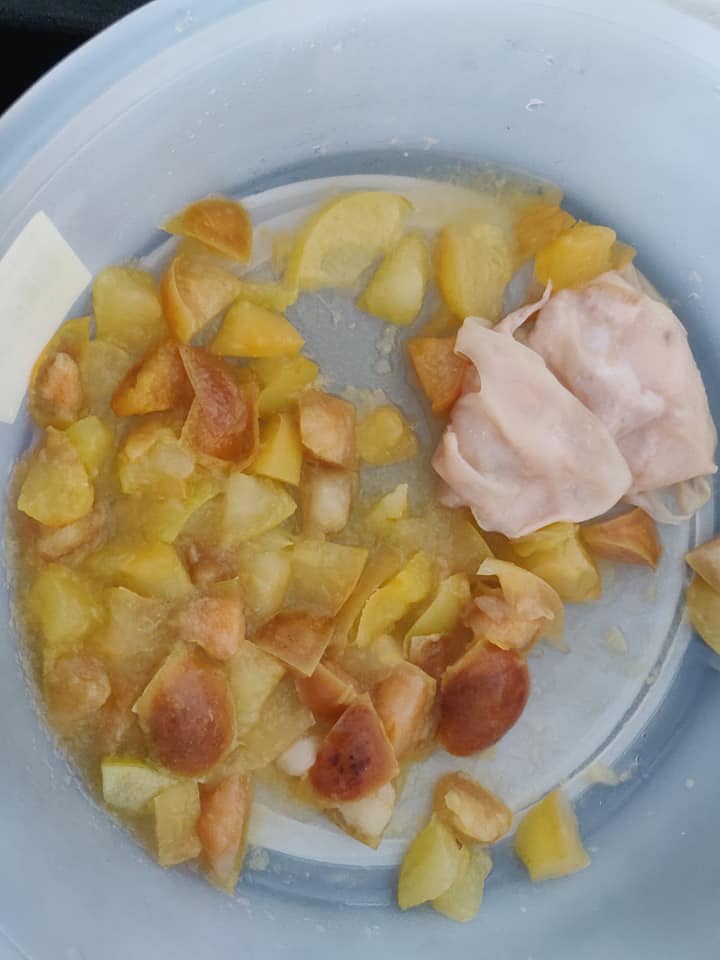
After 2-3 weeks, once the mixture had darkened, you will want to now separate the solids from the liquid. you can do this with a fine mesh, or even cheesecloth. Since we have bees, I use our honey strainer and it works wonderfully! If you have chickens, they will LOVE the apple scraps, yes they will be drunk!

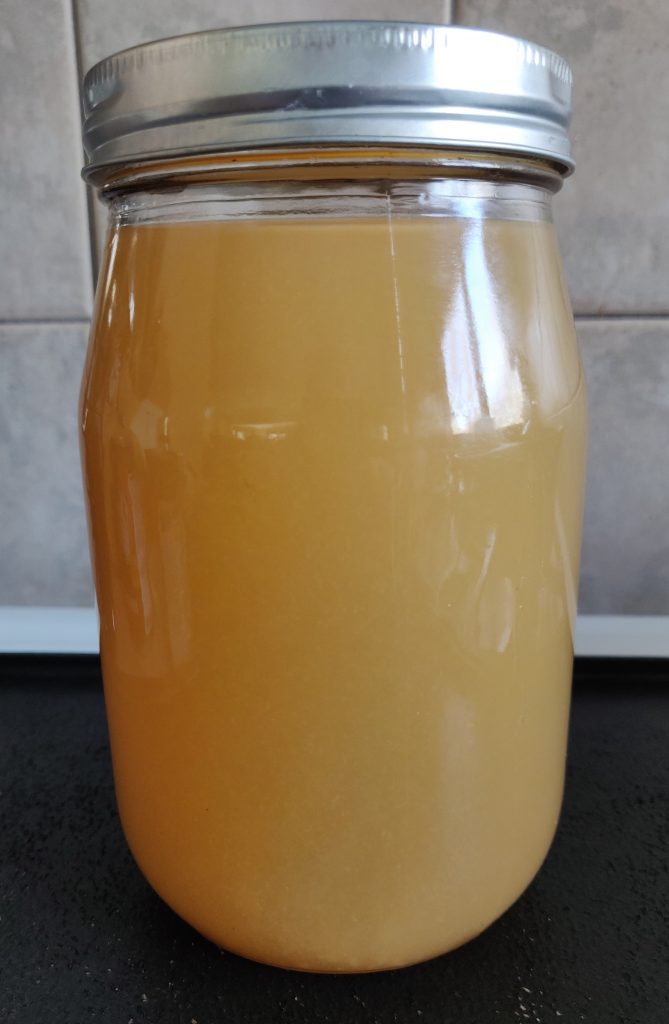
Put the ACV with mother back in a dark warm place and let it sit for another 2-4 weeks, You can check on it by tasting it, you will know when its ready! Once done, put your ACV in jars with lids and store in cool dark place. ACV really does not go bad. I use it to clean, as a rinse for my hair so I go thru a lot of it! The great thing about making your own ACV is you can do it anytime!
Note: do not use metal containers to store your ACV. The acids corrode metal, so it is best to use glass containers.

the above picture is how I store my mother for future use, as well as to give some away to help others start their own ACV. You need to make sure your mother is completely covered with ACV in an airtight jar. It will last indefinitely if stored correctly, as its now in a state of limbo. As long as no air gets to it it is not able to ferment and as long as its covered it will stay healthy. Mother needs air to ferment, if left in an open jar of ACV eventually all the acetic acid is used up and now bad bacteria and mold can settle in. So to keep your mother healthy just submerge her in vinegar and an airtight lid. leave her on the counter at room temp. as long as it does not get over 130 degrees, she will be fine. Freezing is a bit more of a challenge.. keep your mother from freezing as the bacteria may not survive.


I am really grateful to the owner of this site who has shared this enormous post at at this time.
You are so awesome! I do not suppose I’ve truly read through anything like that before.
So wonderful to discover another person with some unique thoughts on this
topic. Really.. thank you for starting this up. This web site is one thing
that’s needed on the internet, someone with a bit of originality!
Thank you! I really appreciate your feedback! come back often! I actually am reconstructing about 3 years worth of blog posts that were lost in a transfer. So will have some others up soon! Like homemade sauerkraut, the best homemade bread, and lots of stuff on gardening, my passion!